I recently received a commission for 2 hats. A fade from light to dark with a small heart and a fade from gray to blue with a moose. The first one was simple! Turned out great and the client loves it! The second one presented several challenges.
First I was going to blend the gray and blue then fade to brown with a moose pattern I designed built into the stitches. But the blue/gray combo didn't pop like I'd hoped for. So I pulled out all the rows and started again. This time with just gray at the top and fade to blue with the brown as the moose pattern stitches. But, in the way of round worked crochet, all the stitches were slanting and didn't line up! So I pulled it out again! and started fresh. Gray at the top, fade to blue, and finish with ear flaps. Then I tried to cross stitch the moose pattern into the hat. Epic fail! Pulling the cross stitch out, I decided to make an appliqué of sorts. I crocheted several small pieces and sewed them together to create a moose! Then sewed the moose onto the hat. The end result is pretty good. And the client loves it too!
While these hats were fun to make they were a little stressful because I had to on the fly make up some patterns for the moose I was going to originally use and the moose appliqué too. But I needed the stress, because the best things are created when you are working on the fly :)
One Momma, several loves. My God, my Husband, my kids, and yarn!
Friday, December 31, 2010
Thursday, December 16, 2010
Busy, Busy, Busy!
Not too long ago I put up a post about how slow LBD had been. Well, that must have been the trick to start the ball rolling again because it sure has been busy! I received 3 commissions back to back to back! While that is fantastic and I appreciate the business but dang! Five hats and an amigurumi bunny later I am finally back to working on my own Christmas presents. Not only do I only have seven days to finish all my projects, but I keep adding stuff to the list! I hope and pray to have everything done and wrapped by Tuesday, but that may be optimistic. Hope you have a wonderful Christmas and a shiny New Year!
| Harper's Bella Bunny |
| Seans Hat |
Saturday, December 4, 2010
Another Completed Commission
This time it was actually for boys! I was so excited to be making something that wasn't all girlie in pinks and purples :)
My job was to make ear flap hats that looked like frogs rather than bears. I already knew I wanted big bulging eyes, but other than that I wasn't sure how to proceed. Making the hat itself was simple enough. I have had plenty of practice. The embellishments were the stumpers. I modified a hat pattern to be super small to make two half balls, or bowls if you will. From there I added little safety eyes and some stuffing. There, eyes done. The nose was easy enough also. Just a little "embroidery" and done...again. The mouth gave me a little trouble. I started with a large mouth but that ended up looking incredibly stupid and poorly done. I tried about 3 different options before settling on a simple "V" in red. I think it looks cute. I only added the mouth to one of the hats to give both the boys the same feeling hat with subtle differences.
My job was to make ear flap hats that looked like frogs rather than bears. I already knew I wanted big bulging eyes, but other than that I wasn't sure how to proceed. Making the hat itself was simple enough. I have had plenty of practice. The embellishments were the stumpers. I modified a hat pattern to be super small to make two half balls, or bowls if you will. From there I added little safety eyes and some stuffing. There, eyes done. The nose was easy enough also. Just a little "embroidery" and done...again. The mouth gave me a little trouble. I started with a large mouth but that ended up looking incredibly stupid and poorly done. I tried about 3 different options before settling on a simple "V" in red. I think it looks cute. I only added the mouth to one of the hats to give both the boys the same feeling hat with subtle differences.
 |
| Ayden's Frog Hat, as modeled by Jason |
| Sean's Frog Hat, as modeled by Styrofoam Head :) |
Thursday, December 2, 2010
Thank you!
Just a little THANK YOU to all my followers! I would like to congratulate "Incognito" on being our November drawing winner! You will be contacted with details of your prize.
Just know I appreciate all my followers and wanted to say thank you just to them by having a drawing for a custom made piece of jewelry this month. Without you all my blog would just be a random journal about my crafting misadventures, but YOU give this blog meaning... So THANK YOU from the bottom of my heart!
Just know I appreciate all my followers and wanted to say thank you just to them by having a drawing for a custom made piece of jewelry this month. Without you all my blog would just be a random journal about my crafting misadventures, but YOU give this blog meaning... So THANK YOU from the bottom of my heart!
Wednesday, November 24, 2010
Brimley Hat Completed
As promised, here is the picture of the Brimley Hat I recently made. Thank you to Mamachee for the pattern. This hat worked up rather quickly and the pattern was easy and fun. Although it is too big for my head, it fits my husband perfectly!
Friday, November 19, 2010
A Tunisian Discovery
Tunisian Crochet. What can I say about you? Fun, different, and very interesting! I stumbled upon Tunisian Crochet via an email from Lion Brand Yarn. They send me patterns and ideas for new projects every few days and this one pattern really caught my eye. I quickly realized the pattern I was looking at was something new! Something new?! Alright! I started researching right away. I will be making a bag for myself after some practice.
Considered a mix of knitting and crochet, Tunisian crochet leaves loops on the hook and takes two passes to complete one row. Despite taking two rows to complete one, it does work up rather quickly, and probably best of all...it doesn't seem hard at all. I played around with the simple stitch and a regular crochet hook before purchasing a real Tunisian hook. Using Ravelry.com, I found a simple pattern for a hot pad and started working.
If you have never seen a Tunisian simple stitch I will give a brief description. You chain stitches like you normally would in regular crochet. This is where it changes. Instead of working in the top of the chain, you work in the spine of the chain. Now, working in the spine, you yarn over(YO) and pull up a loop, but instead of YO again to form a single crochet you insert your hook into the next chain spine and YO to pull up another loop. This is repeated across the chain, leaving all the loops on the hook. Once you have reached the end of the chain you do not turn. You YO and pull the loop through one loop on the hook. Then you YO again and pull that loop through two loops, the loop that you just pulled up and the loop from the previous row; repeat across. Now you are ready to begin the next row. Do not turn, with one loop on your hook, insert your hook into the next vertical loop in the row below. YO and pull up a loop, leaving 2 loops on your hook. Insert your hook into the next vertical loop, YO and pull up another loop, leaving three loops on your hook. Repeat for all the vertical hoops in your work. Then repeat "Once you have reached the end of the work you do not turn. You YO and pull the loop through one loop on the hook. Then you YO again and pull that loop through two loops, the loop that you just pulled up and the loop from the previous row; repeat across." Pretty easy huh?
There are a ton of videos on YouTube and plenty of designs on Ravelry.com and other websites. Try it, you'll like it :) If you do try, leave me a comment, or ask for help. I am brand new too, but we can stumble through Tunisian Crochet together.
Until next time... Happy Crafting!
Labels:
crochet,
hook,
knitting,
Lion Brand,
needle,
Ravelry.com,
stitch,
Tunisian,
yarn
Sunday, November 14, 2010
Building a pattern inventory
I have been in a sort of lull with LBD business. Although, my MIL is ordering things here and there, it certainly isn't enough to pay a bill, let alone all the bills; not that I expected it to. So, during this lull I have decided to make the most of the free time. I have been scouring the internet, trying to find those patterns that fit what I feel is my style. I found a few :).
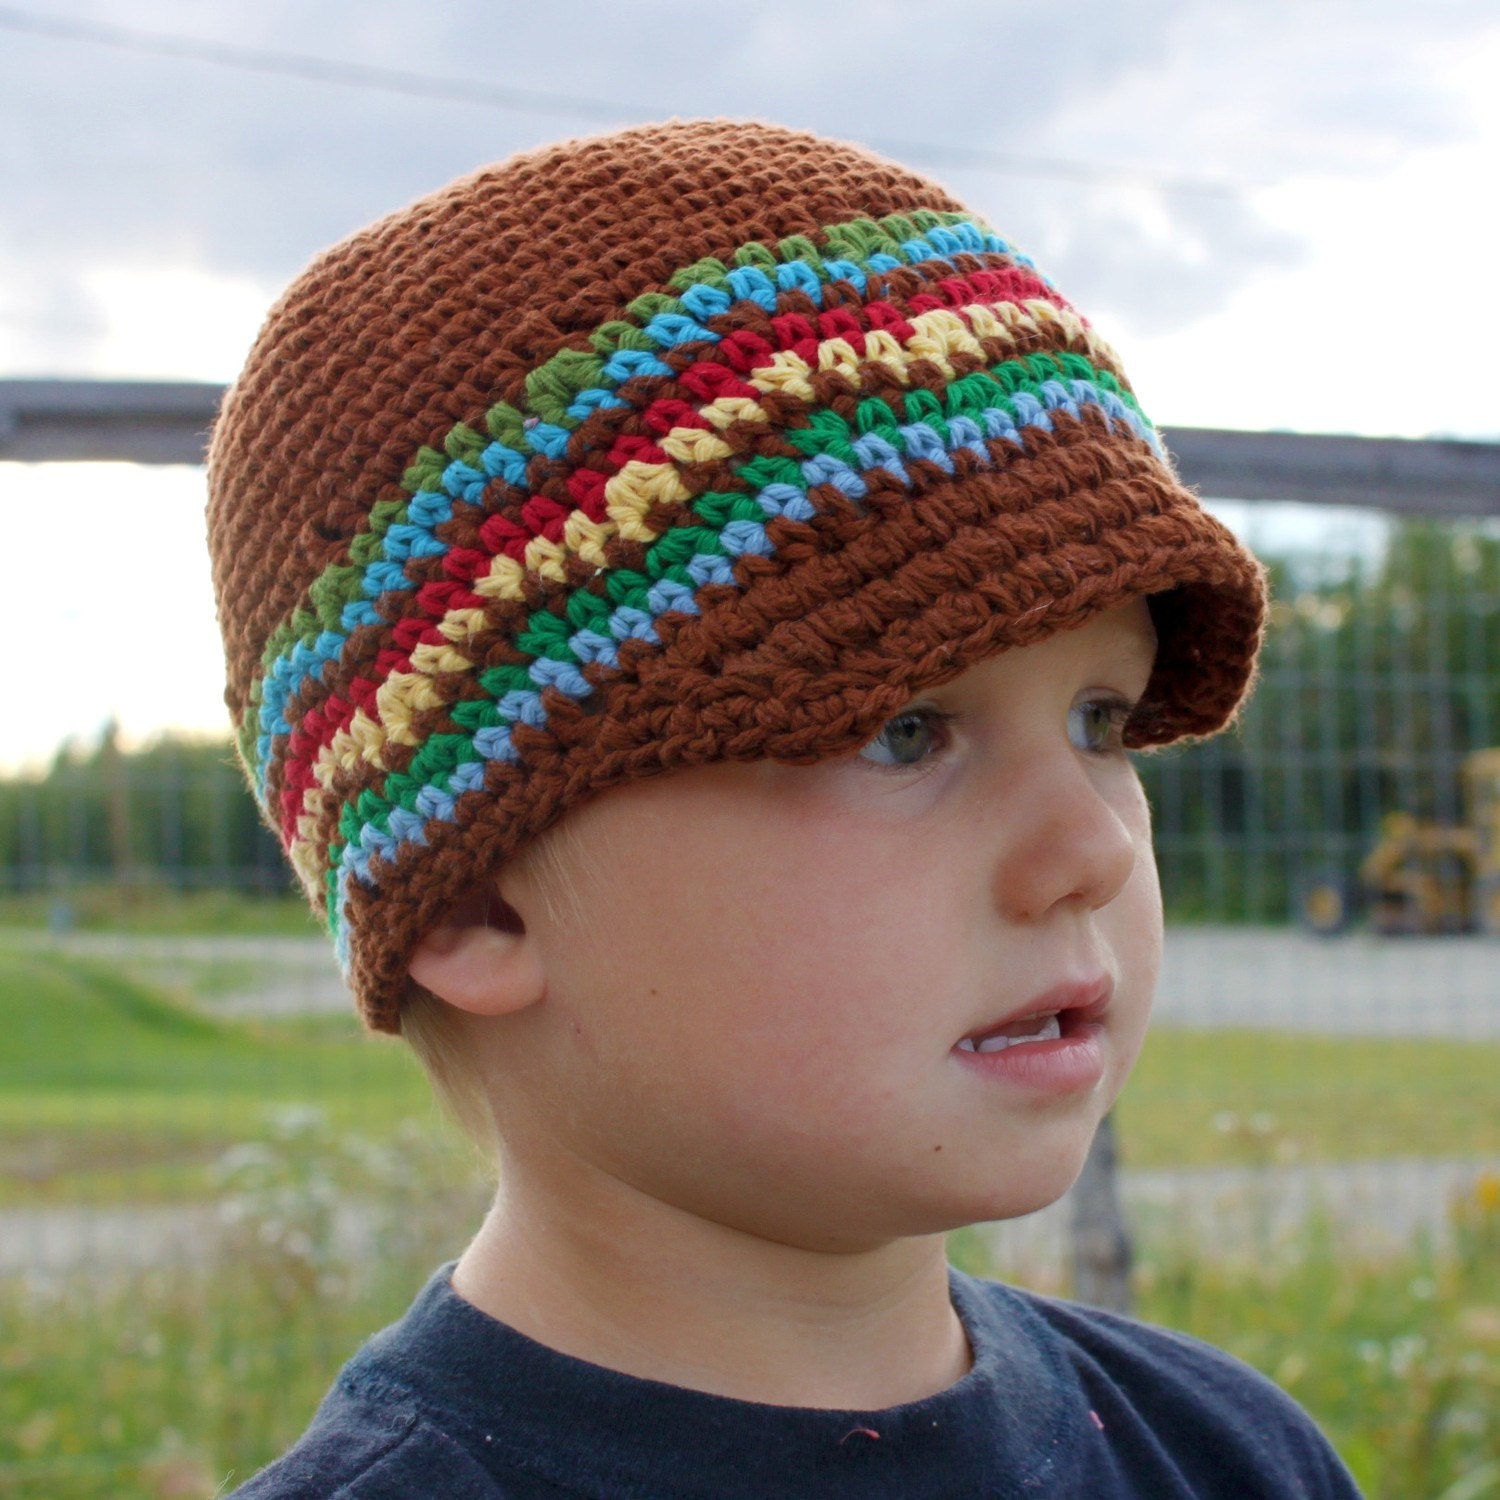
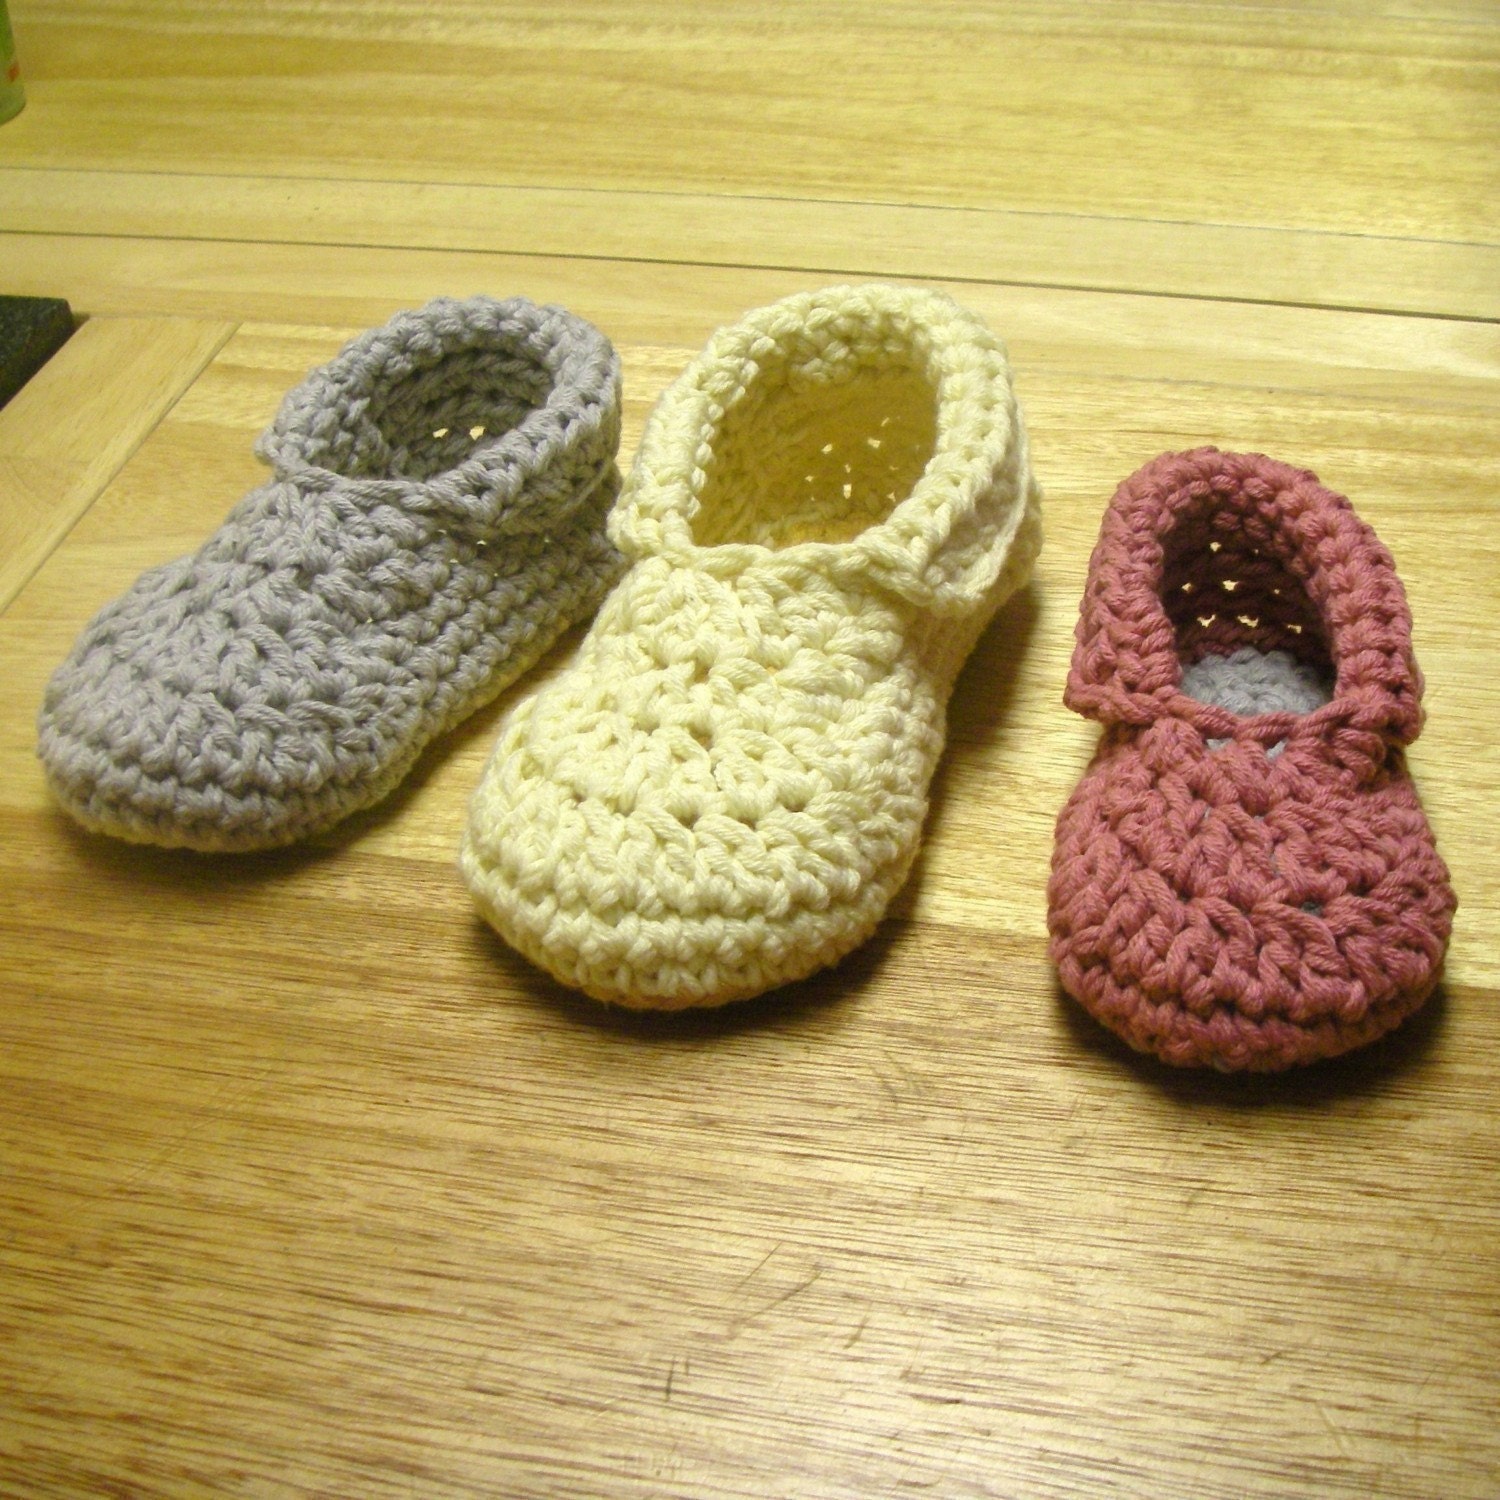
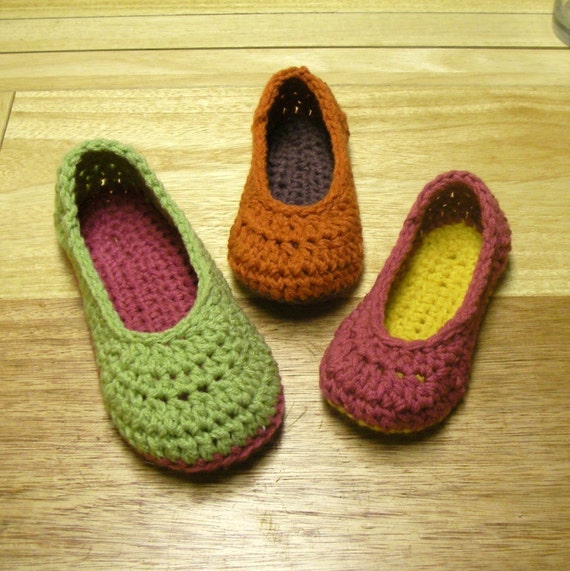
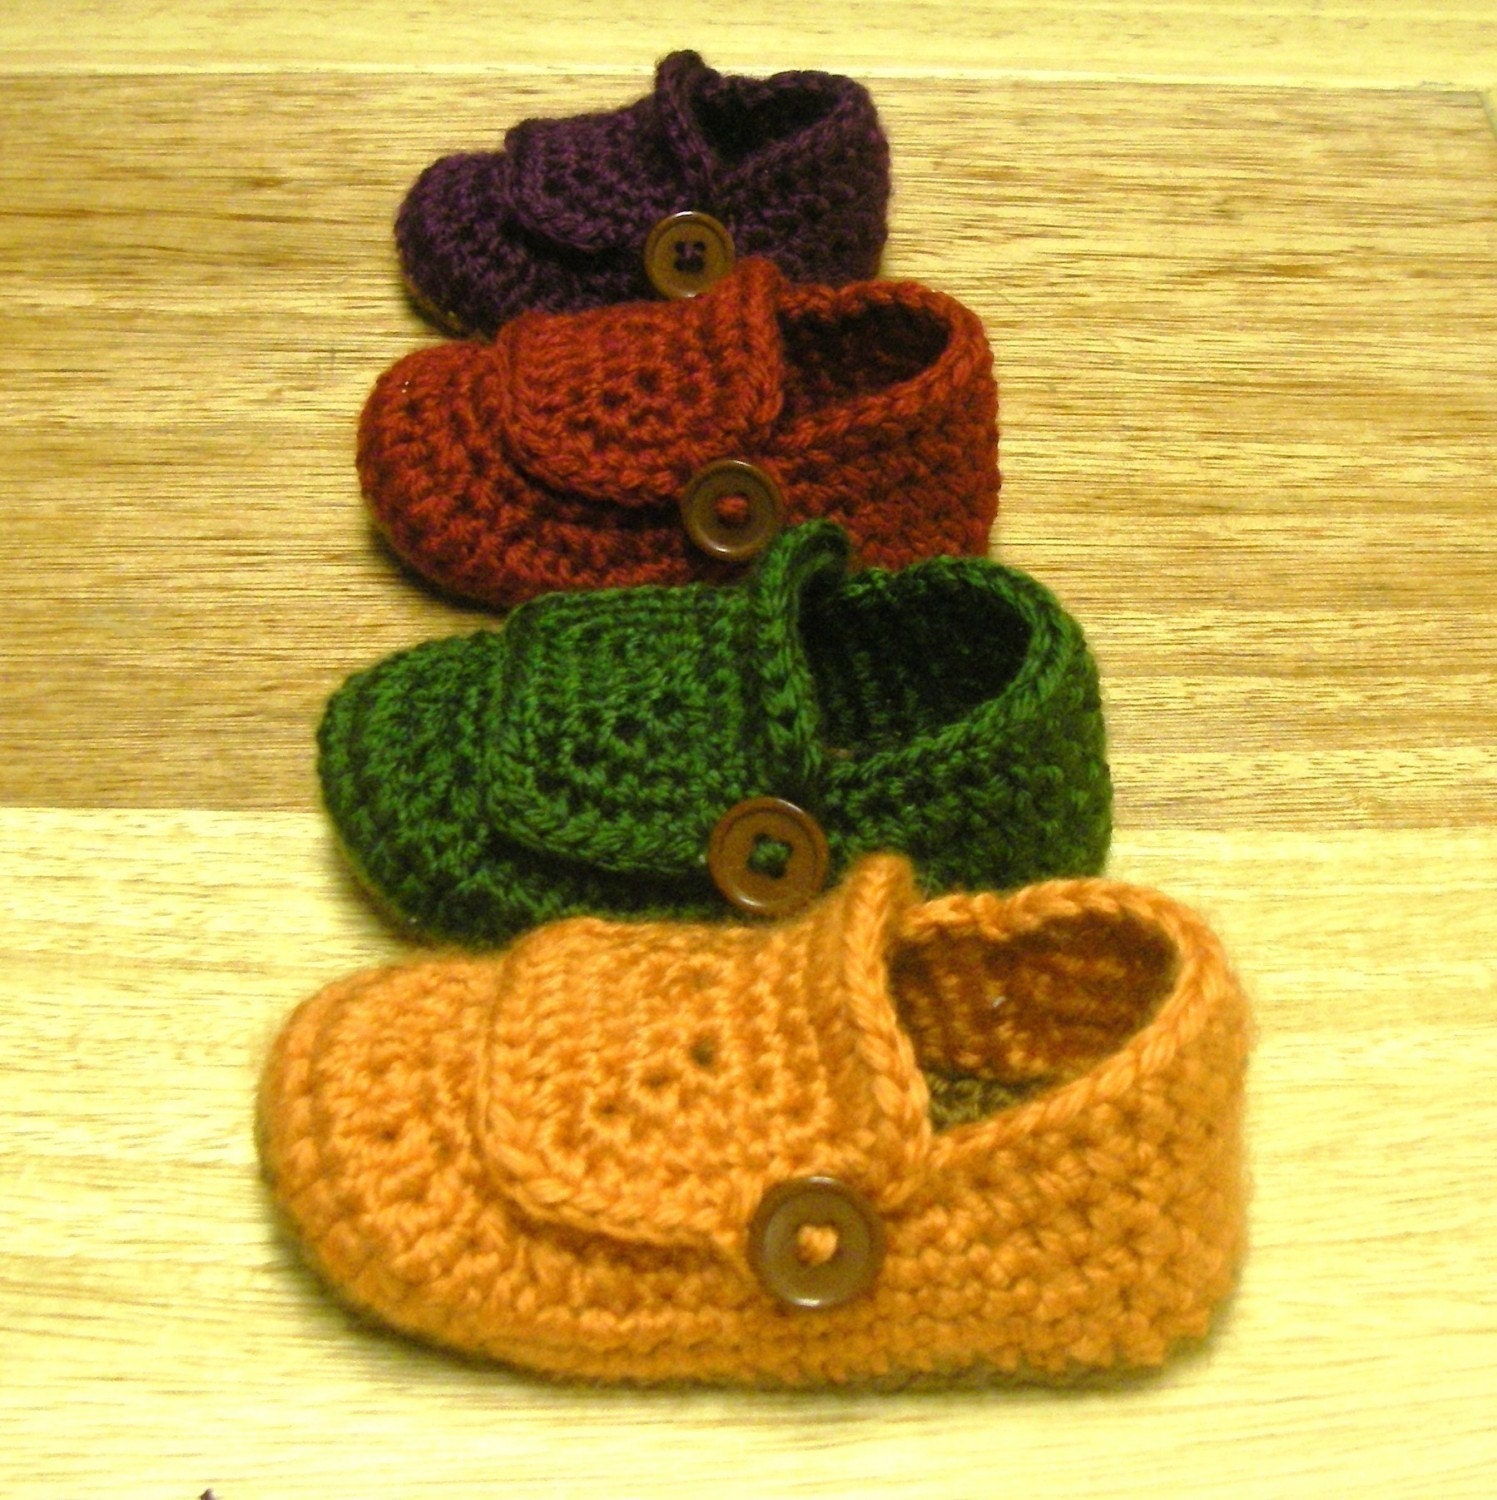
I discovered Ravelry.com recently and quickly became addicted to it. Looking through all the patterns, and seeing others achievements is inspiring! I am humbled by the other peoples creativity and skill! I only wish I was as good as half the crafters there. There is also a blog I am following now, http://easymakesmehappy.blogspot.com/. She does amazing work! And her stuff is cute, and right up my alley. I purchased a few of her patterns: The Brimley Hat, Killian's Owl Hat, Toddler/Child Slippers, Oma House Slippers, and Buccaneer Booties. They are sweet! I can't wait for someone to want/order/need something so I can make them! The cute little Buccaneer Booties can be made into Mary Jane Style Slippers for little girls too! I am currently working on a Brimley Hat for myself and will post pics once it is done.
Items in order as listed above:


Subscribe to:
Comments (Atom)


