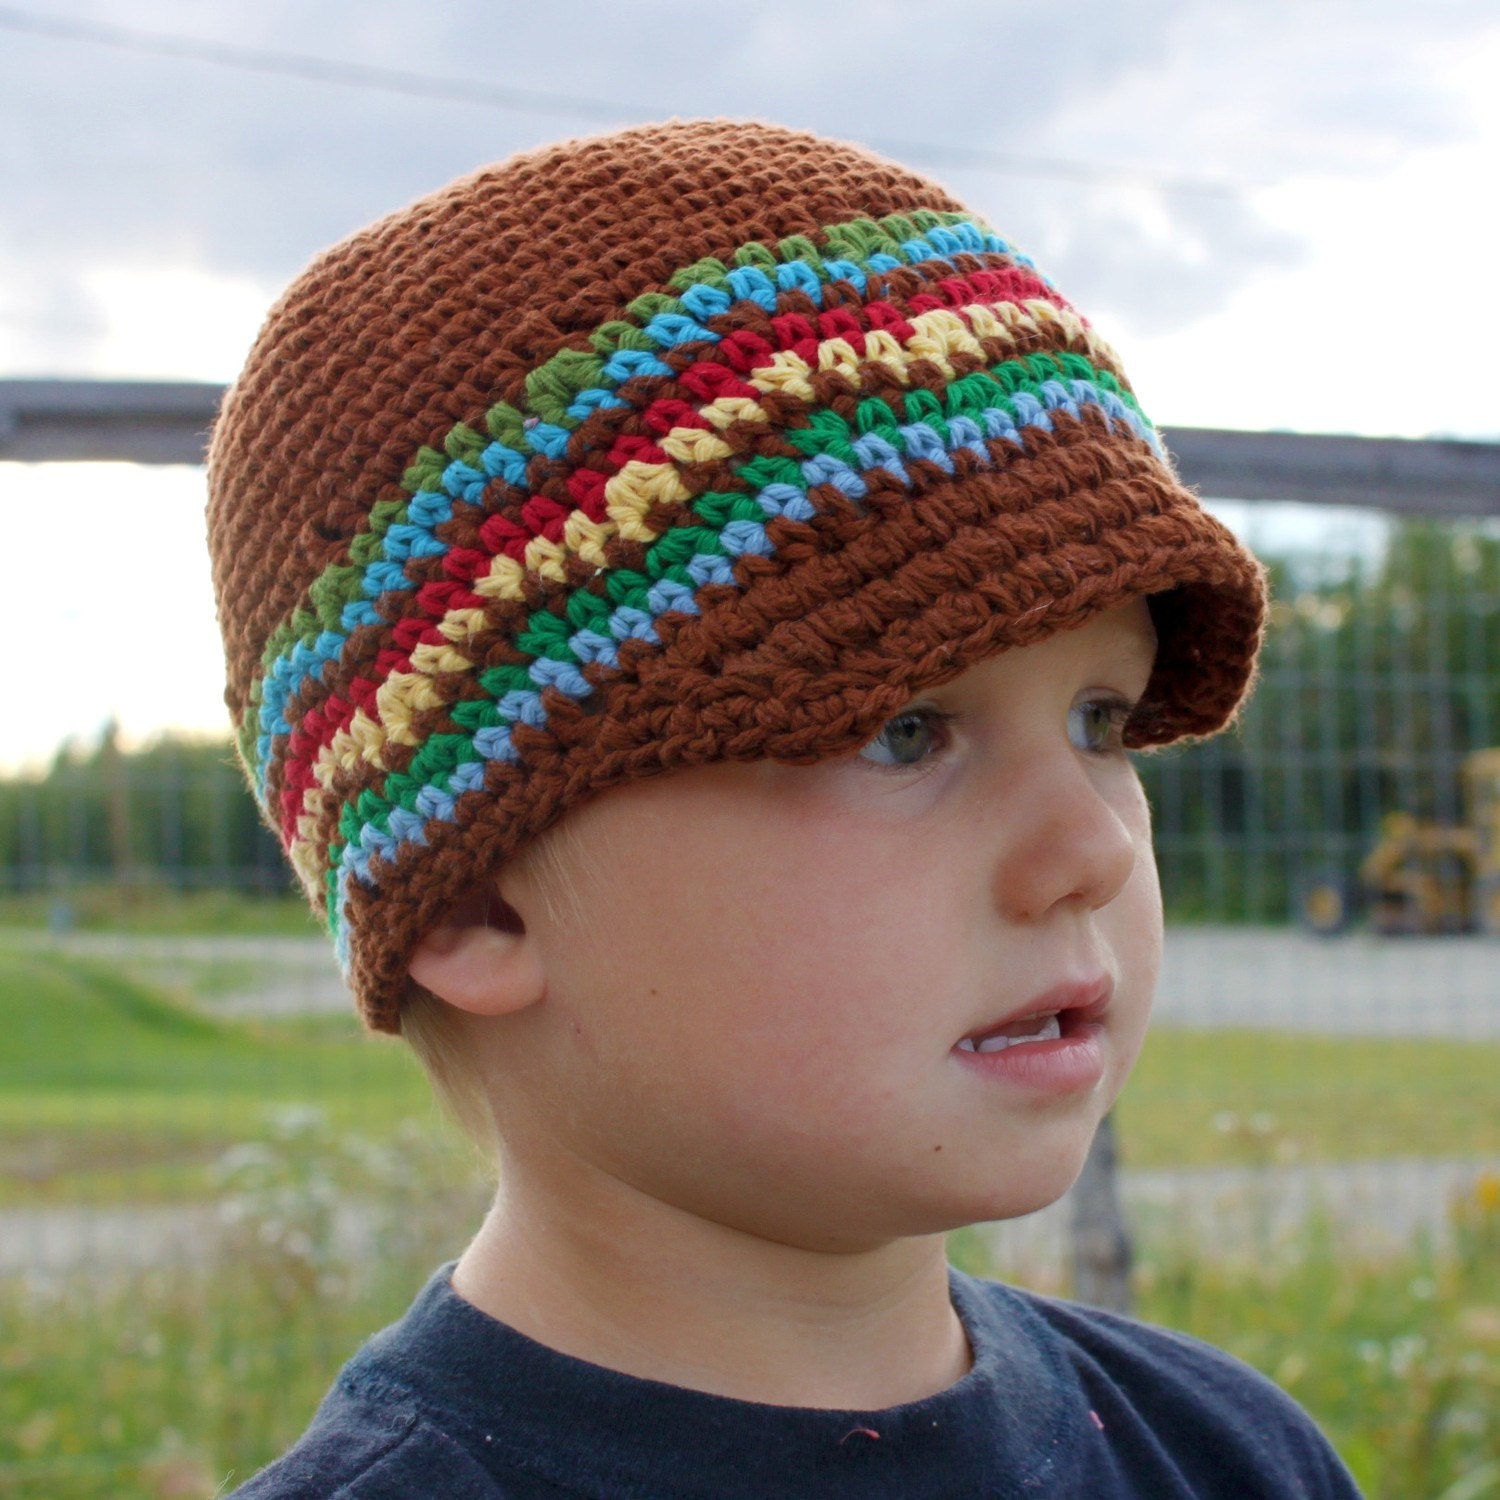
As promised, here is the picture of the Brimley Hat I recently made. Thank you to Mamachee for the pattern. This hat worked up rather quickly and the pattern was easy and fun. Although it is too big for my head, it fits my husband perfectly!
One Momma, several loves. My God, my Husband, my kids, and yarn!
Wednesday, November 24, 2010
Brimley Hat Completed
As promised, here is the picture of the Brimley Hat I recently made. Thank you to Mamachee for the pattern. This hat worked up rather quickly and the pattern was easy and fun. Although it is too big for my head, it fits my husband perfectly!
Friday, November 19, 2010
A Tunisian Discovery
Tunisian Crochet. What can I say about you? Fun, different, and very interesting! I stumbled upon Tunisian Crochet via an email from Lion Brand Yarn. They send me patterns and ideas for new projects every few days and this one pattern really caught my eye. I quickly realized the pattern I was looking at was something new! Something new?! Alright! I started researching right away. I will be making a bag for myself after some practice.
Considered a mix of knitting and crochet, Tunisian crochet leaves loops on the hook and takes two passes to complete one row. Despite taking two rows to complete one, it does work up rather quickly, and probably best of all...it doesn't seem hard at all. I played around with the simple stitch and a regular crochet hook before purchasing a real Tunisian hook. Using Ravelry.com, I found a simple pattern for a hot pad and started working.
If you have never seen a Tunisian simple stitch I will give a brief description. You chain stitches like you normally would in regular crochet. This is where it changes. Instead of working in the top of the chain, you work in the spine of the chain. Now, working in the spine, you yarn over(YO) and pull up a loop, but instead of YO again to form a single crochet you insert your hook into the next chain spine and YO to pull up another loop. This is repeated across the chain, leaving all the loops on the hook. Once you have reached the end of the chain you do not turn. You YO and pull the loop through one loop on the hook. Then you YO again and pull that loop through two loops, the loop that you just pulled up and the loop from the previous row; repeat across. Now you are ready to begin the next row. Do not turn, with one loop on your hook, insert your hook into the next vertical loop in the row below. YO and pull up a loop, leaving 2 loops on your hook. Insert your hook into the next vertical loop, YO and pull up another loop, leaving three loops on your hook. Repeat for all the vertical hoops in your work. Then repeat "Once you have reached the end of the work you do not turn. You YO and pull the loop through one loop on the hook. Then you YO again and pull that loop through two loops, the loop that you just pulled up and the loop from the previous row; repeat across." Pretty easy huh?
There are a ton of videos on YouTube and plenty of designs on Ravelry.com and other websites. Try it, you'll like it :) If you do try, leave me a comment, or ask for help. I am brand new too, but we can stumble through Tunisian Crochet together.
Until next time... Happy Crafting!
Labels:
crochet,
hook,
knitting,
Lion Brand,
needle,
Ravelry.com,
stitch,
Tunisian,
yarn
Sunday, November 14, 2010
Building a pattern inventory
I have been in a sort of lull with LBD business. Although, my MIL is ordering things here and there, it certainly isn't enough to pay a bill, let alone all the bills; not that I expected it to. So, during this lull I have decided to make the most of the free time. I have been scouring the internet, trying to find those patterns that fit what I feel is my style. I found a few :).
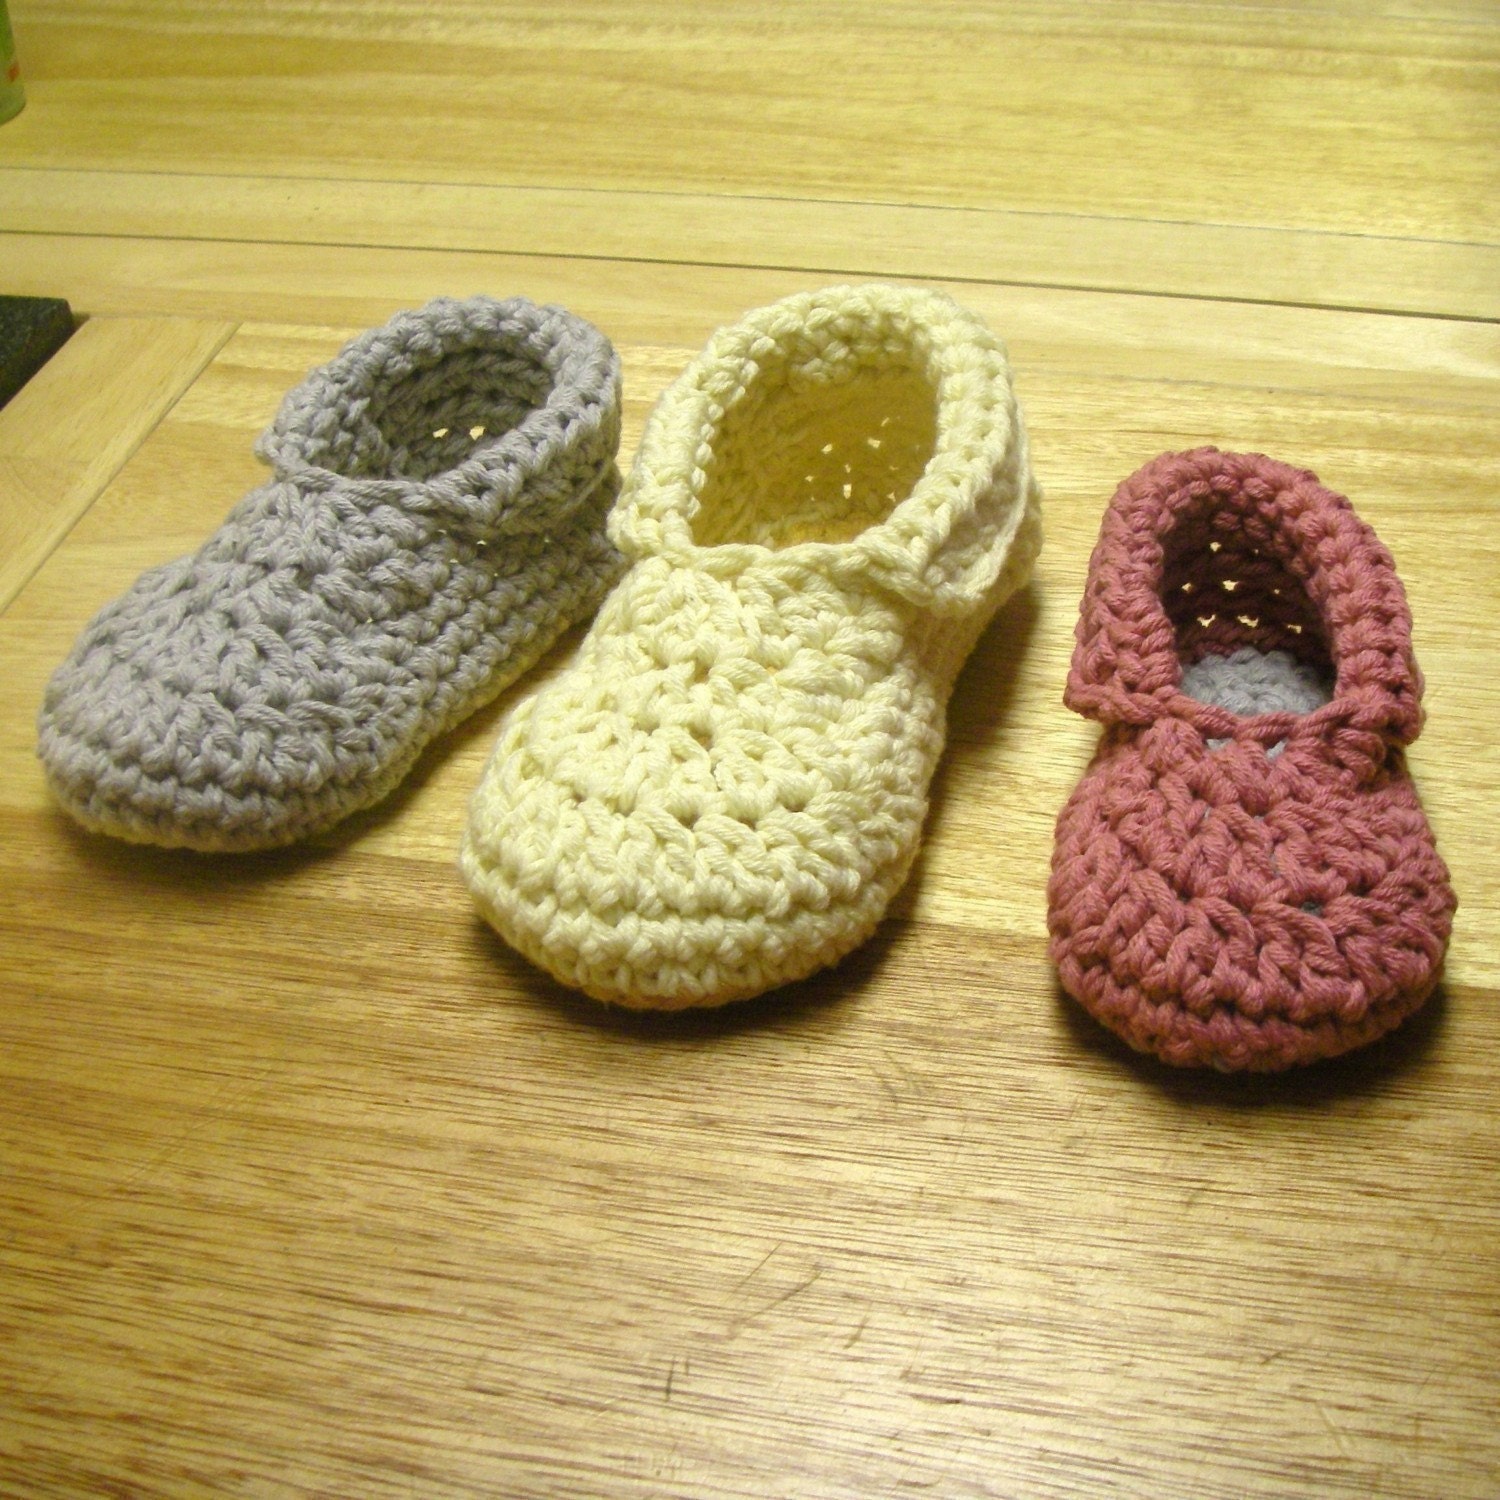
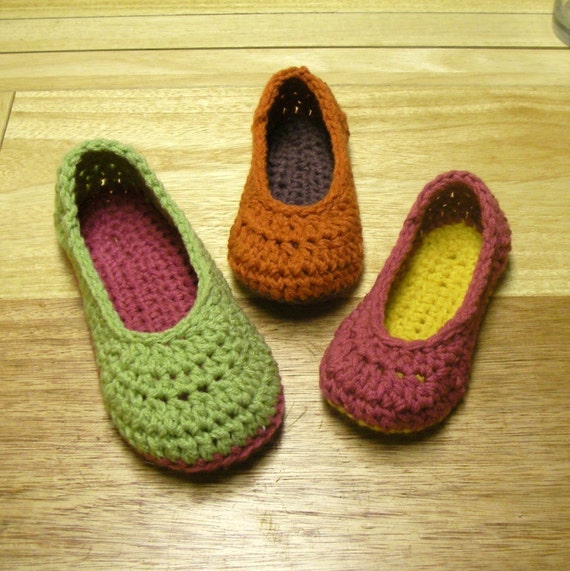
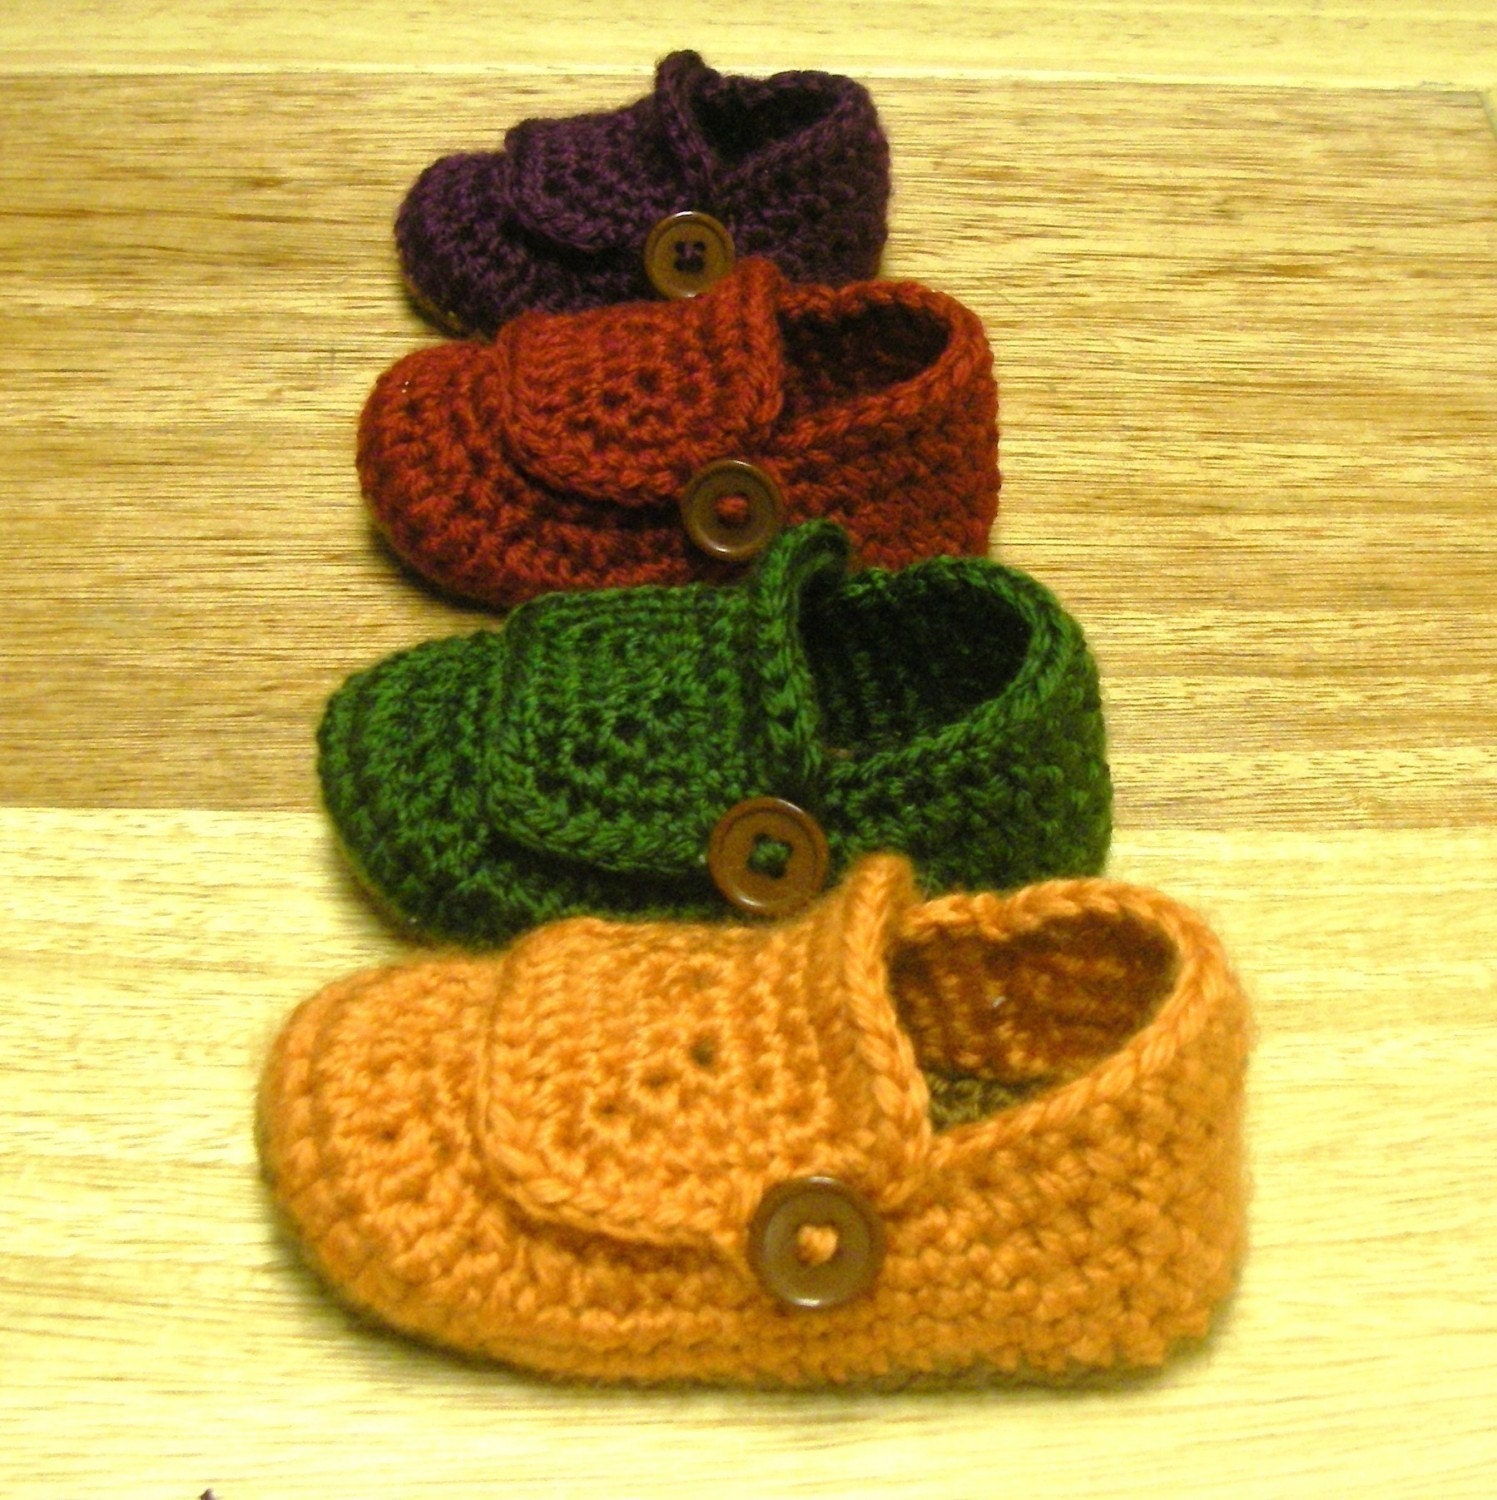
I discovered Ravelry.com recently and quickly became addicted to it. Looking through all the patterns, and seeing others achievements is inspiring! I am humbled by the other peoples creativity and skill! I only wish I was as good as half the crafters there. There is also a blog I am following now, http://easymakesmehappy.blogspot.com/. She does amazing work! And her stuff is cute, and right up my alley. I purchased a few of her patterns: The Brimley Hat, Killian's Owl Hat, Toddler/Child Slippers, Oma House Slippers, and Buccaneer Booties. They are sweet! I can't wait for someone to want/order/need something so I can make them! The cute little Buccaneer Booties can be made into Mary Jane Style Slippers for little girls too! I am currently working on a Brimley Hat for myself and will post pics once it is done.
Items in order as listed above:


Monday, November 8, 2010
My first solo pattern (actually written down)
I was commissioned by my MIL to make a hat and mitten set for a newborn boy coming in February. I was searching for cute little hats and mittens for boys but all the ones I found were either too girly or very blah and ugly. So I decided to write my own patterns for these. First I did the hat. I used single crochets in rounds to do the crown of the hat, then added a seed stitch for pattern around the sides. The mittens I also used single crochets in rounds to make the ends of the gloves and decreased so they would form hollow balls, more or less. Then I added a row of double crochets at the end to make a cuff and weaved in a blue satin ribbon for a tie to keep them on little baby hands. Very fun and fulfilling, writing your own patterns. Hopefully I will be continuing to do so in the future!
Friday, November 5, 2010
Finished with another hat!
My newest commission was for another 3 hats for another baby girl. I was commissioned to make a panda bear ear flap hat, a brim hat with flowers, and a fuzzy hat. These are what I came up with this time...
Thursday, November 4, 2010
No work last night :(
For the first time in several months I was attacked by my arch nemesis, the migraine!! I had a wonderful evening planned; video games with the husband, lovely hot tea and crocheting.
About five minutes into my video game time I realized I couldn't see right... My aura had struck! An aura, for those who don't know, is a black or white, sometimes flashing blob in your vision letting you know to take cover! Normally once you get your aura you have between 5 and 30 minutes to find a dark cool room to lay down in before the migraine pain starts. So, to my dismay, at 7:45 I find myself brushing my teeth and getting in bed for the night! And any other night I'd be ecstatic to get 12 hours sleep, since that hasn't happened since my son was born, but I had things I wanted to do!!
Even though I got a ton of sleep I'm still tired this morning! And, to boot, I still have a headache! Not a migraine but a headache nonetheless. Hopefully I'll be able to get some work done during my sons nap today. I'd like to be finished with my commission by tonight so I can get it shipped Friday! Lord willing, that will come to pass.
Until next time, happy crafting!!
Sara
Monday, November 1, 2010
Wire Crochet bracelet
My mother in law came to me asking for a bracelet. Her only stipulation was it had to be purple. With all the possibilities out there I started playing with the idea of a purple bangle with silver wrapping. As it turns out, that was WAY harder than I anticipated. So when I stumbled upon a necklace that was crocheted, I was ecstatic! I knew exactly what to do!
I called my MIL and asked if this would work. She loved the idea. I went straight to the craft store and bought the supplies to make my first crochet jewelry piece. I started working later that night and quickly realized I hated the design that was forming infront of me. So I cut all the beads out of the work and started over. Luckily, it only took one more time trying before I got the look I was going for.
I called my MIL and asked if this would work. She loved the idea. I went straight to the craft store and bought the supplies to make my first crochet jewelry piece. I started working later that night and quickly realized I hated the design that was forming infront of me. So I cut all the beads out of the work and started over. Luckily, it only took one more time trying before I got the look I was going for.
Subscribe to:
Comments (Atom)


